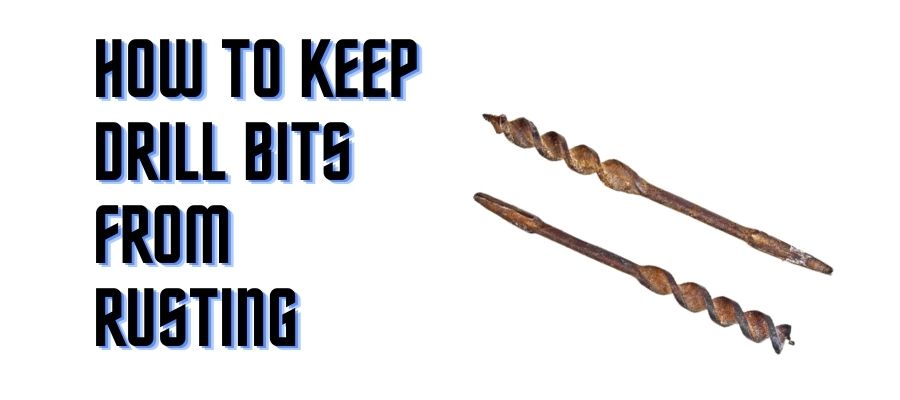
Drill bits are constructed with extra-tough metals like cobalt, high-speed steel, or carbide. Although they are highly heat resistant, they are not resistant to rust.
Metals are prone to rust formation and rusty drill bits aren’t very good at drilling things anymore. But you can very easily maintain the bit so that the rust doesn’t form in the first place.

How to keep drill bits from rusting you wonder? Well, there are many ways to do that. But to understand the process let us learn the causes for rust formation.
Table of Contents
Why do drill bits rust?
Like all metals drill bits rust when they come in contact with oxygen and water for a long time. Rusting is a very slow process that might take weeks to form. But eventually, rust will form if you don’t keep the bits in a sufficiently dry place.
You might think that drill bits have rust-proof coatings on them. And although it is true, after many extensive drillings, these coatings tend to wear away and expose the metal to rust.
Think of a situation like this: after a heavy drilling session you just tossed the bits away into a drawer or in your DIY box. You didn’t bother to clean them even. On it are all the dust and wood particles from the drilling and some water or sweat from your hands.
The particles attract the water and the air around them has oxygen; the perfect recipe for rust. You shouldn’t get too surprised the next time you see rust forming on the bits after a few weeks. Read our latest reviews on the best drill bits for concrete and brick walls.
How to Prevent Bits from Rusting
Since oxygen and water are the two enemies of metal, you can only prevent rust from forming is by keeping these two elements off of the drill bits. There are many ways you can do this:
1. Preserve Them In An Oil Dipped Cloth
One of the easiest ways to prevent drill bits from rusting is by cleaning them and then keeping them in a cloth dipped in oil. The protective layer of the oil will prevent air or oxygen from coming in contact with the bits.
2. Paint Them
Although this process will protect your bits to a good extent it is not full proof. The paint coating will gradually wear off after you use the drill multiple times.
This is probably a good method for those who aren’t frequent in their use of bits. Once painted, you can store them for months without worrying till you take them out again.
We prefer you use synthetic paint for this task and apply three layers of it to keep the oxygen and water away.
3. Preserve in Oil
You can also totally submerge them in oil or petroleum and this can the very effective in keeping them free of any kind of rust. However, the process will be messy when you need to use them again. You can pick either kerosene or petrol for this job.
4. Apply WD-40
WD-40 is a new item that becomes fairly popular nowadays. This lubricating spray item protects metal from rust and corrosion. You can also use it on your drill bits to remove dirt, clean them and protect them to remain sharp for future use. They are known to soak up extra moisture that leads to corrosion in the bits.
5. Use Silica Gel
Silica gels are great dehumidifying agents that absorb moisture from their vicinity. If you keep them with the drill bits in the same jar they will prevent rust or corrosion from occurring there since there won’t be much water for oxidization.
How to Clean Rusted Bits

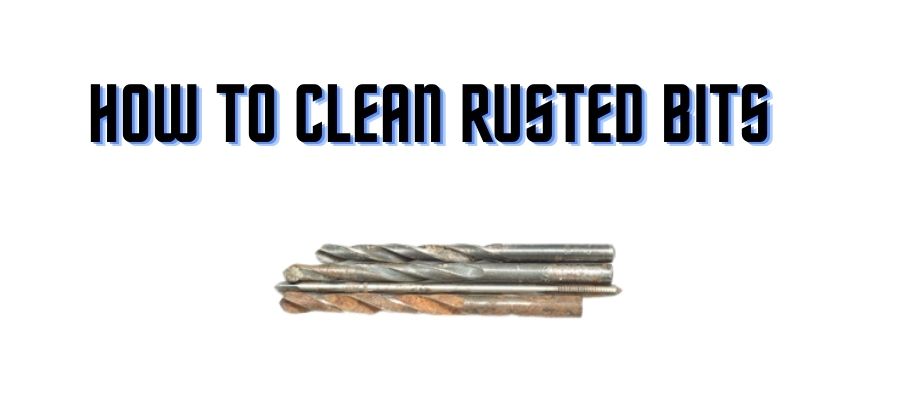
Although we’ve mentioned the various ways of keeping your bits rust-free, they may have some rust on them. It is, therefore, necessary to know what to do when they finally catch rust, apart from taking precautions like previously explained.
There are a few ways to get rid of the rust so that the drill bits function effectively. We’ll mention some of them here.
Use Oil and White Vinegar
For this method to work properly you need to scrub the bits with an old toothbrush or a scrubbing pad in three steps:
Step 1 – scrub the bits to make them clean enough and remove the outer layer of the rust.
Step 2 – then apply some mineral oil to the bits and wait for 30 minutes. During this time the oil will penetrate the rust and make them easy to remove. Scrub them off again with the brush.
Step 3 – now clean the bits again with a piece of cloth and dip them in white vinegar for another 30 minutes. Scrub them again thoroughly and clean them with a white paper towel.
You’ll now find the bits squeaky clean just as new.
Soak in Oxalic Acid
You need to ensure your safety before using oxalic acid.
The first step is to clean and scrub them. You should use detergent water to ensure no oil or greasy substance remains on them.
Take the bits and submerge them entirely in oxalic acid. Then wait for half an hour until you’ve noticed the rusty crusts have disappeared.
Use Baking Soda
If you’re not a hardliner and have some reservations about using oxalic acid, baking soda also works fine. For this process, you need some patience and it takes more time than the previous tips.
Clean the bits as usual ensuring no greasy particles remain. Mix some baking soda with water to make a paste and apply it to the rusty parts. Let the paste sit on the rust for a couple of hours before scrubbing them off with a brush and rinse off.
Final Words
There is little doubt that rust is a major enemy for all carpenters. They tend to make the tools ineffective and spread to other metals as well. Removing rust every time before use dulls the bits and decays them.
So, if you want the bits to serve you longer then learn how to keep drill bits from rusting as well as how to clean them.
